
It is that time of year again. One more day of school to go. I can not believe the year went by that fast. J is graduating elementary school and going into 7th grade. K is going to 5th grade and M is going to Pre-K. Soooo, that means it’s time for DIY Appreciation Gifts and especially one that teachers love to get.
Ideas for any budget
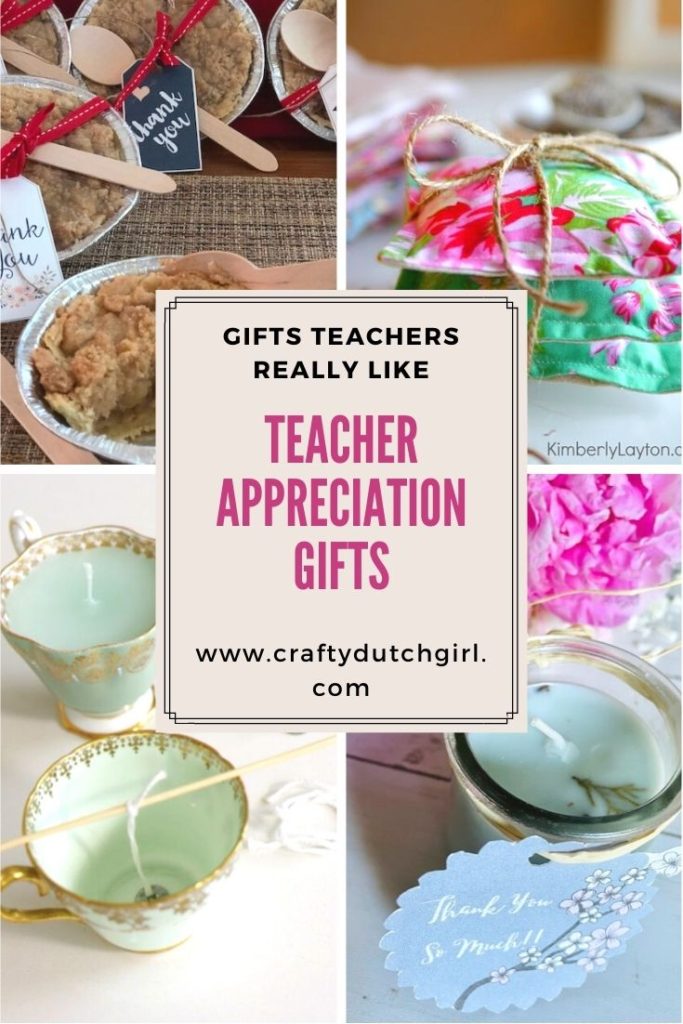
Here are 7 Teacher Appreciation Gifts that teachers really like and are for any budget. You can make it as fancy as you want. Besides that, it can get expensive quickly, if you buy gift cards or any other gift basket or set. A little bit of a personal touch of your child(-ren) is always appreciated as well. Instead of signing a card at the central office, I like to give our appreciation gifts personally.
When I look at Pinterest for some ideas, It seems like a lot of gifts include things like candy, coffee or beauty/spa items. I don’t know if our teachers would appreciate those things….so I played it safe and made our own teacher Appreciation Gifts for them at the end of the year.
1. Hand painted Flower Pot

When K went to Kindergarten, he gave these fun little flower pots to his teachers. They loved it and they lasted the whole summer! The pot they can use over and over again.
Materials:
clay flower pot
potting soil
flowers
acrylic paint
sealant (mod podge)
brushes or foam stamps
K used the stamps and different paints to decorate the pots. Then we added his name and the name of the teacher the pot was for with a black permanent marker. Seal the pot with Mod Podge, let dry. Fill the pot with soil and the flowers and you’re ready to go.
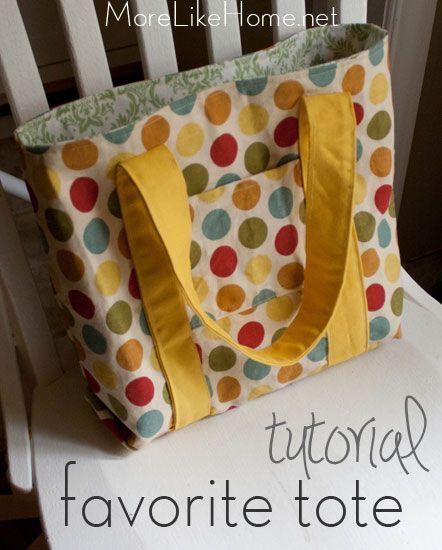
2. Personalized Fabric Bag
Materials:
Fabric
Thread
Fabric paint
For this gift I started a few weeks before the end of the school year. Luckily, J had only one teacher in Kindergarten. She gave this beautiful bag. It was lined and it had a piece of cloth sewed on the front, which can double for a little phone pouch. J decorated something fun with fabric paint. A great tutorial you can find here.
3. Lavender Sachets
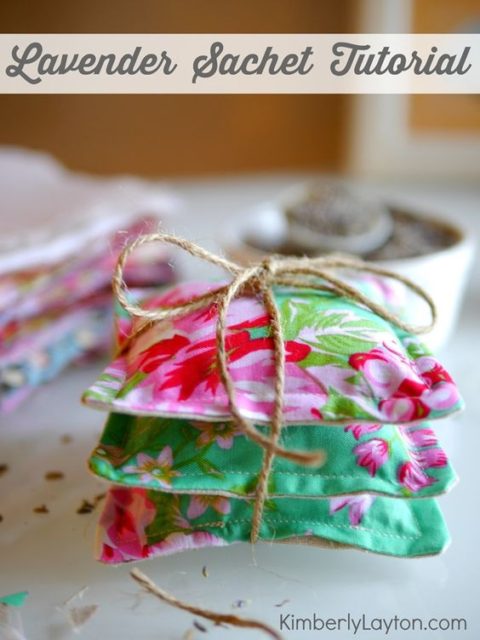
One year, I used a lot of fabric for my projects, so I had a lot of leftover fabric scraps. I used them for these fun lavender sachets. They looked pretty and gave a wonderful smell of the summer. With a piece of twine I put 3 little sachets together. We added a “Thank You”- tag with some suggestions, like putting the sachets under your pillow or in between the linens for a nice smell.
Materials:
White cotton fabric
Scrap fabric
Thread
Dried lavender flowers
First I made the inside sachets with white fabric to hold the lavender. I cut out 4×4 inch pieces and sewed all around leaving 1 inch open to fill with lavender. The outside sachets I made with scraps of fabric. Cutting out 5×5 inch pieces. Sewing 3 sides together, wrong sides together. Leave the 4 side open to slide the white sachet inside. Sew the 4th side closed. You can use a decorative stitch or scissors to make the edges nice.
Here is another great tutorial!
Optional: add a loop made with a piece of ribbon to add to the corner of the sachets.
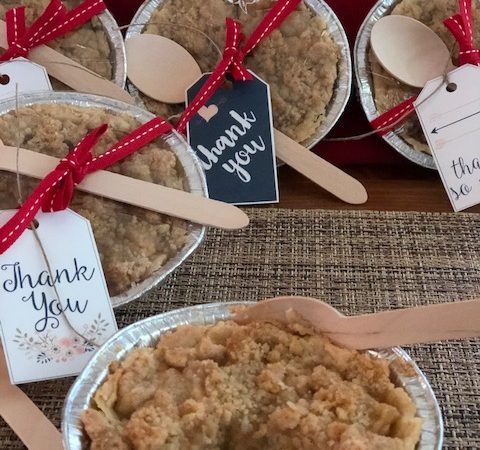
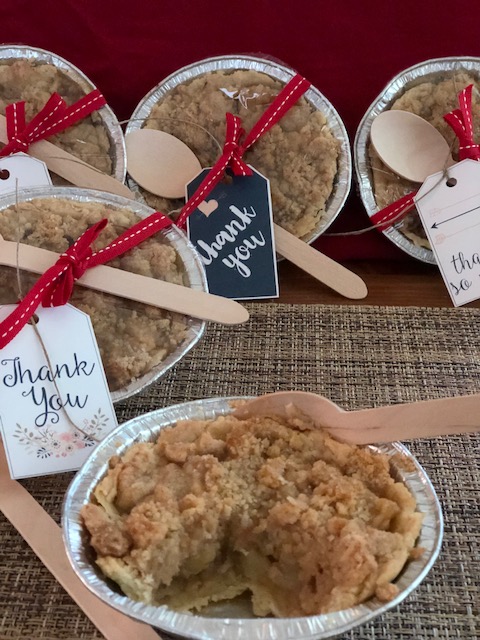
4. Apple Pie
This year I tackled the challenge with these super cute mini Dutch apple pies. Of course I thought of my Dutch apple Pie. I tiny one, to give to the teachers. It was actually not that much work and it looked really cute.
Materials:
5″ aluminum pie pans
Bamboo spoons
Ribbons
Twine
Thank You Tags
Your favorite pie recipe. Get mine here!
I made apple mixture and dough the day before I gave out my pies to the teachers. I put everything together and baked the mini pies. The morning after I wrapped them all in plastic foil and decorated the pies with a ribbon and attached the “Thank You Tag” with a piece of twine.
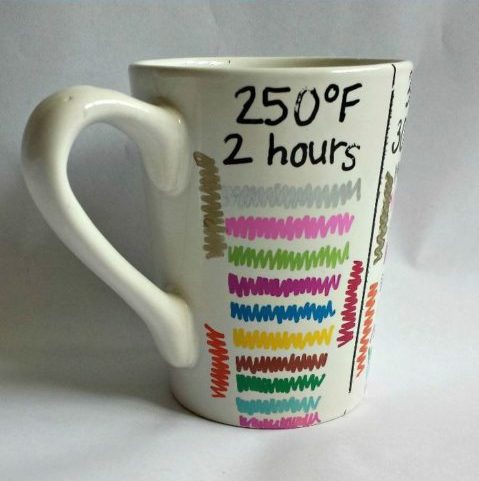
5. Cup with Initial
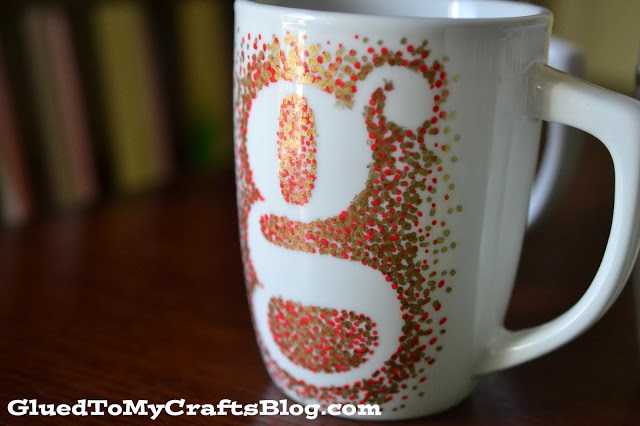
Last year, I used a craft idea I did at our Ladies Night Out at the Craft Cafe. I had some cups left and special markers to use on ceramic. I’m so happy to see some teachers using our cup daily. Not only filled with tea or coffee, but also as a pen holder….oooh, the endless possibilities!
Materials:
White cups
Oil Markers
Double sided Tape
Letter templates
Thank You tags
Twine
Optional: Add things, to fill the cup with, for example cookies.
Clean all the cups. Print out the letter font you like and the letters you need in bold. I used the initials of the teachers names. Cut out the letters and use double tape to tape the letters on the cup. Make dots with the markers all around the letter. Make more dots close to the letter and use less dots the farther you go away from the letter. Let dry (look at the directions on the markers) then bake. Let the cups cool inside the oven until the oven has cooled down completely. Fill the cup with goodies and use clear cellophane an a ribbon with a tag to finish your gift.
6. Crafty Candles
The Crafty Candles! This was a very satisfying craft for me to do. My oldest could definitely help. We made 2 different kinds of Crafty Candles. And another year, we made the last idea:
1. Tea Cup Candles
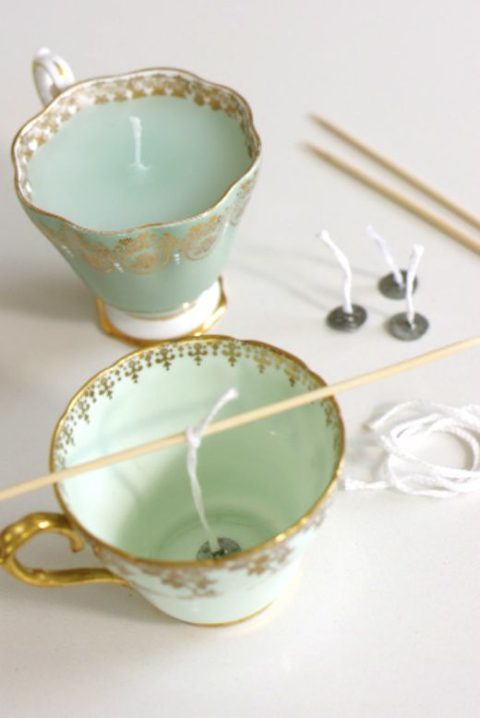
I made a few more for our house, because they were so darn cute! I got mismatching cups and saucers at our Good Will store. Fun and vintage!
Materials:
Mismatching Cups and Saucers (I got mine at a thrift store)
Candle wax
Food coloring
Candle wicks
Skewers
Hot glue
Thank You Tags
Twine
Clear cellophane
Optional: essential oils
Clean the cups and saucers with warm water and soap. Melt the wax in an old pan and add a few drops of food coloring till the desired color is created. Optional: add a few drops of essential oil in the wax. Glue the candle wicks on the bottom of the cup with a little hot glue or a little bit of wax. Tie the end of the wick to the middle of the skewer and carefully lay the skewer on the cup. Fill the cup with the wax and let it harden. Wrap the cup and saucer with clear cellophane and tie the “Thank You” tag with some twine to close the top.
2. Napkin Candle
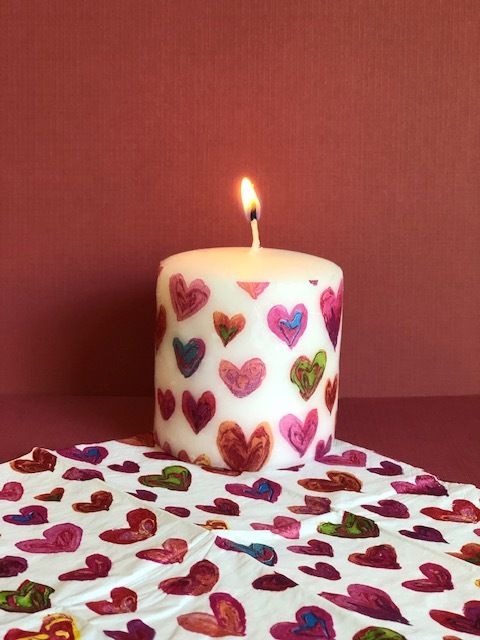
There are several ways of doing this. Either way works fine.
You can use the whole design or cut the desired design out of the napkin. Use only the top layer of the paper napkin. Put the design onto the candle.
First method: spoon and candle.
Heat the bottom of the spoon above the candle. Carefully melt the wax of the candle with the back side of the spoon. Make circular motions.
Second method: hair blow dryer.
Use a hair blow dryer to heat a little of the wax of the candle to bond with the napkin.
3. Flower Candle
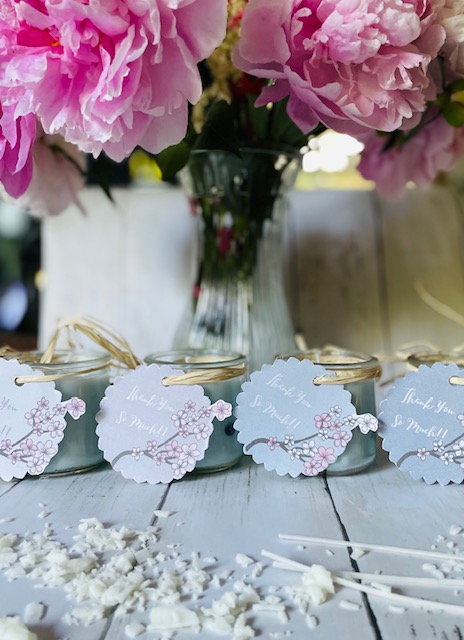
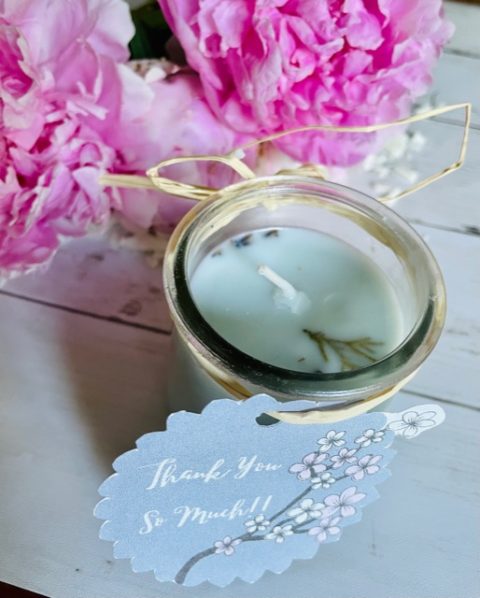
I ordered soy wax and wicks online. You can get them in a kit. A few weeks before making these, we went into the garden to find cute little flowers. I also used dried lavender I still had from another craft project.
Melt the wax (optional melt some shavings of crayons for color and essential oil for a nice smell). I used some cleaned Oui yogurt glasses I had left over from another project . For melting the wax, I used an old glass bowl in an old rice cooker.
Add twine and a “Thank you” note at the end . Here you can download these fun “Thank you” tags.
Have fun making these amazing Teacher Appreciation Gifts!!! And don’t forget to PIN!!!

Hello everyone,
Welcome to my Crafty Dutch Girl blog! Grab a cup of “koffie” and browse through fun blog posts about our Dutch family expat life in the USA, Dutch history, Dutch recipes, Dutch things to do in the USA and all kinds of crafts and activities. Don’t forget to connect with me for new ideas! “Groetjes en tot ziens”.
Thank you for the yummy pies! It was was a sweet gift! ❤️❤️❤️
Thank YOU! You guys are awesome!