
One of the Dutch Holidays we add to the American ones, is “Sinterklaas”. This is the first year I have J and K helping me setting up a Treasure Hunt. Below you can find 7 fun Indoor Treasure Hunts we did for this Dutch Family Tradition in December.
In the Netherlands the kids would experience different activities to do around the “Sinterklaas” celebration. I have to be creative here in the USA to make the most out of this “Sinterklaas” tradition. Most of the people we know in our town, celebrate Christmas and that is what the kids see at school, at the store, at their friends house etc. But Sinterklaas? Of course not! Here is what we’ve been doing over the past years:
Crafty Dutch Girl is Reader-Supported. When you buy through links on our site, we may earn an affiliate commission. Learn more.
7 fun Indoor Treasure Hunt Ideas.
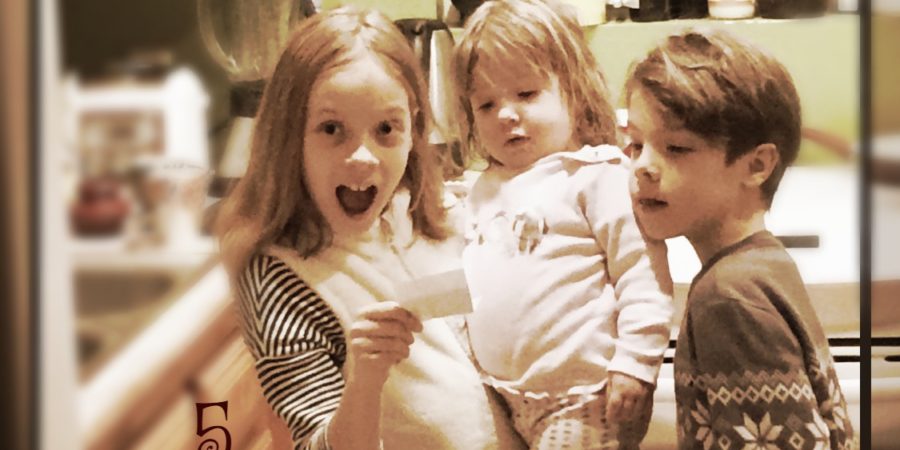
1. Picture Hunt
Age:
2 and up. We have done this treasure hunt a few time now, including last year, because M was not old enough to do other ones. But with some help of her older siblings, she had a blast doing this treasure hunt!
Preparations:
First, wrap the presents and put them in a bag or basket.
Then, make pictures of things or places in your house ( I made 10). You can choose to make a picture of the whole object or just a part of it to make it more difficult. Think of objects like a magnet on the refrigerator, a light in the bathroom, a painting or picture on the wall for instance.
Print the pictures out (I send them to my email or airdrop them, copied them in a Word document, so I could fit more pictures on one sheet of paper). Cut the pictures and fold them in half, so the kids can not see the picture itself. Start with the front door or wherever the kids come in. I always start the treasure hunt with a letter to explain what the kids need to do.
During “Sinterklaas” time, letters or notes are written with rhyming words. Which made it harder;) and in Dutch, which was easier for me;)
How it works:
The letter and the first picture will be placed at the front door. From there, the kids need to find the object on that picture. When they found it, there will be a picture of the next object. And so on…..until the last object has been found. The last picture shows the place where the kids have to look for the basket or bag with the presents.
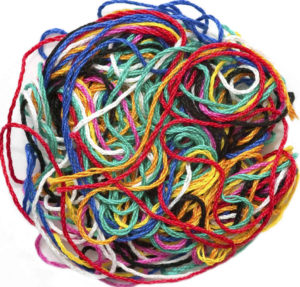
2. Follow the Yarn
Age:
2 and up. This treasure hunt was an easy one to set up (I did it once when I was almost 9 months pregnant).
Preparations:
Wrap the presents and place them in a bag or basket.
You’ll need a ball of yarn. Start at the beginning of the hunt. This could be the front door. Again you might add an explanatory letter (see the first treasure hunt). Tie the yarn on something sturdy, like a doorknob or the staircase railing. From there, go through the whole house with the yarn, zigzagging up the stairs, under chairs and tables, around the sofa…well, you get the point. It looked like HUGE spiders took over the house!
As you can see in the picture below, J put a paperclip with a pompom on the yarn, so M could follow the yarn more easily. At the end you’ll tie the yarn on something sturdy and put the basket or bag with presents near it.
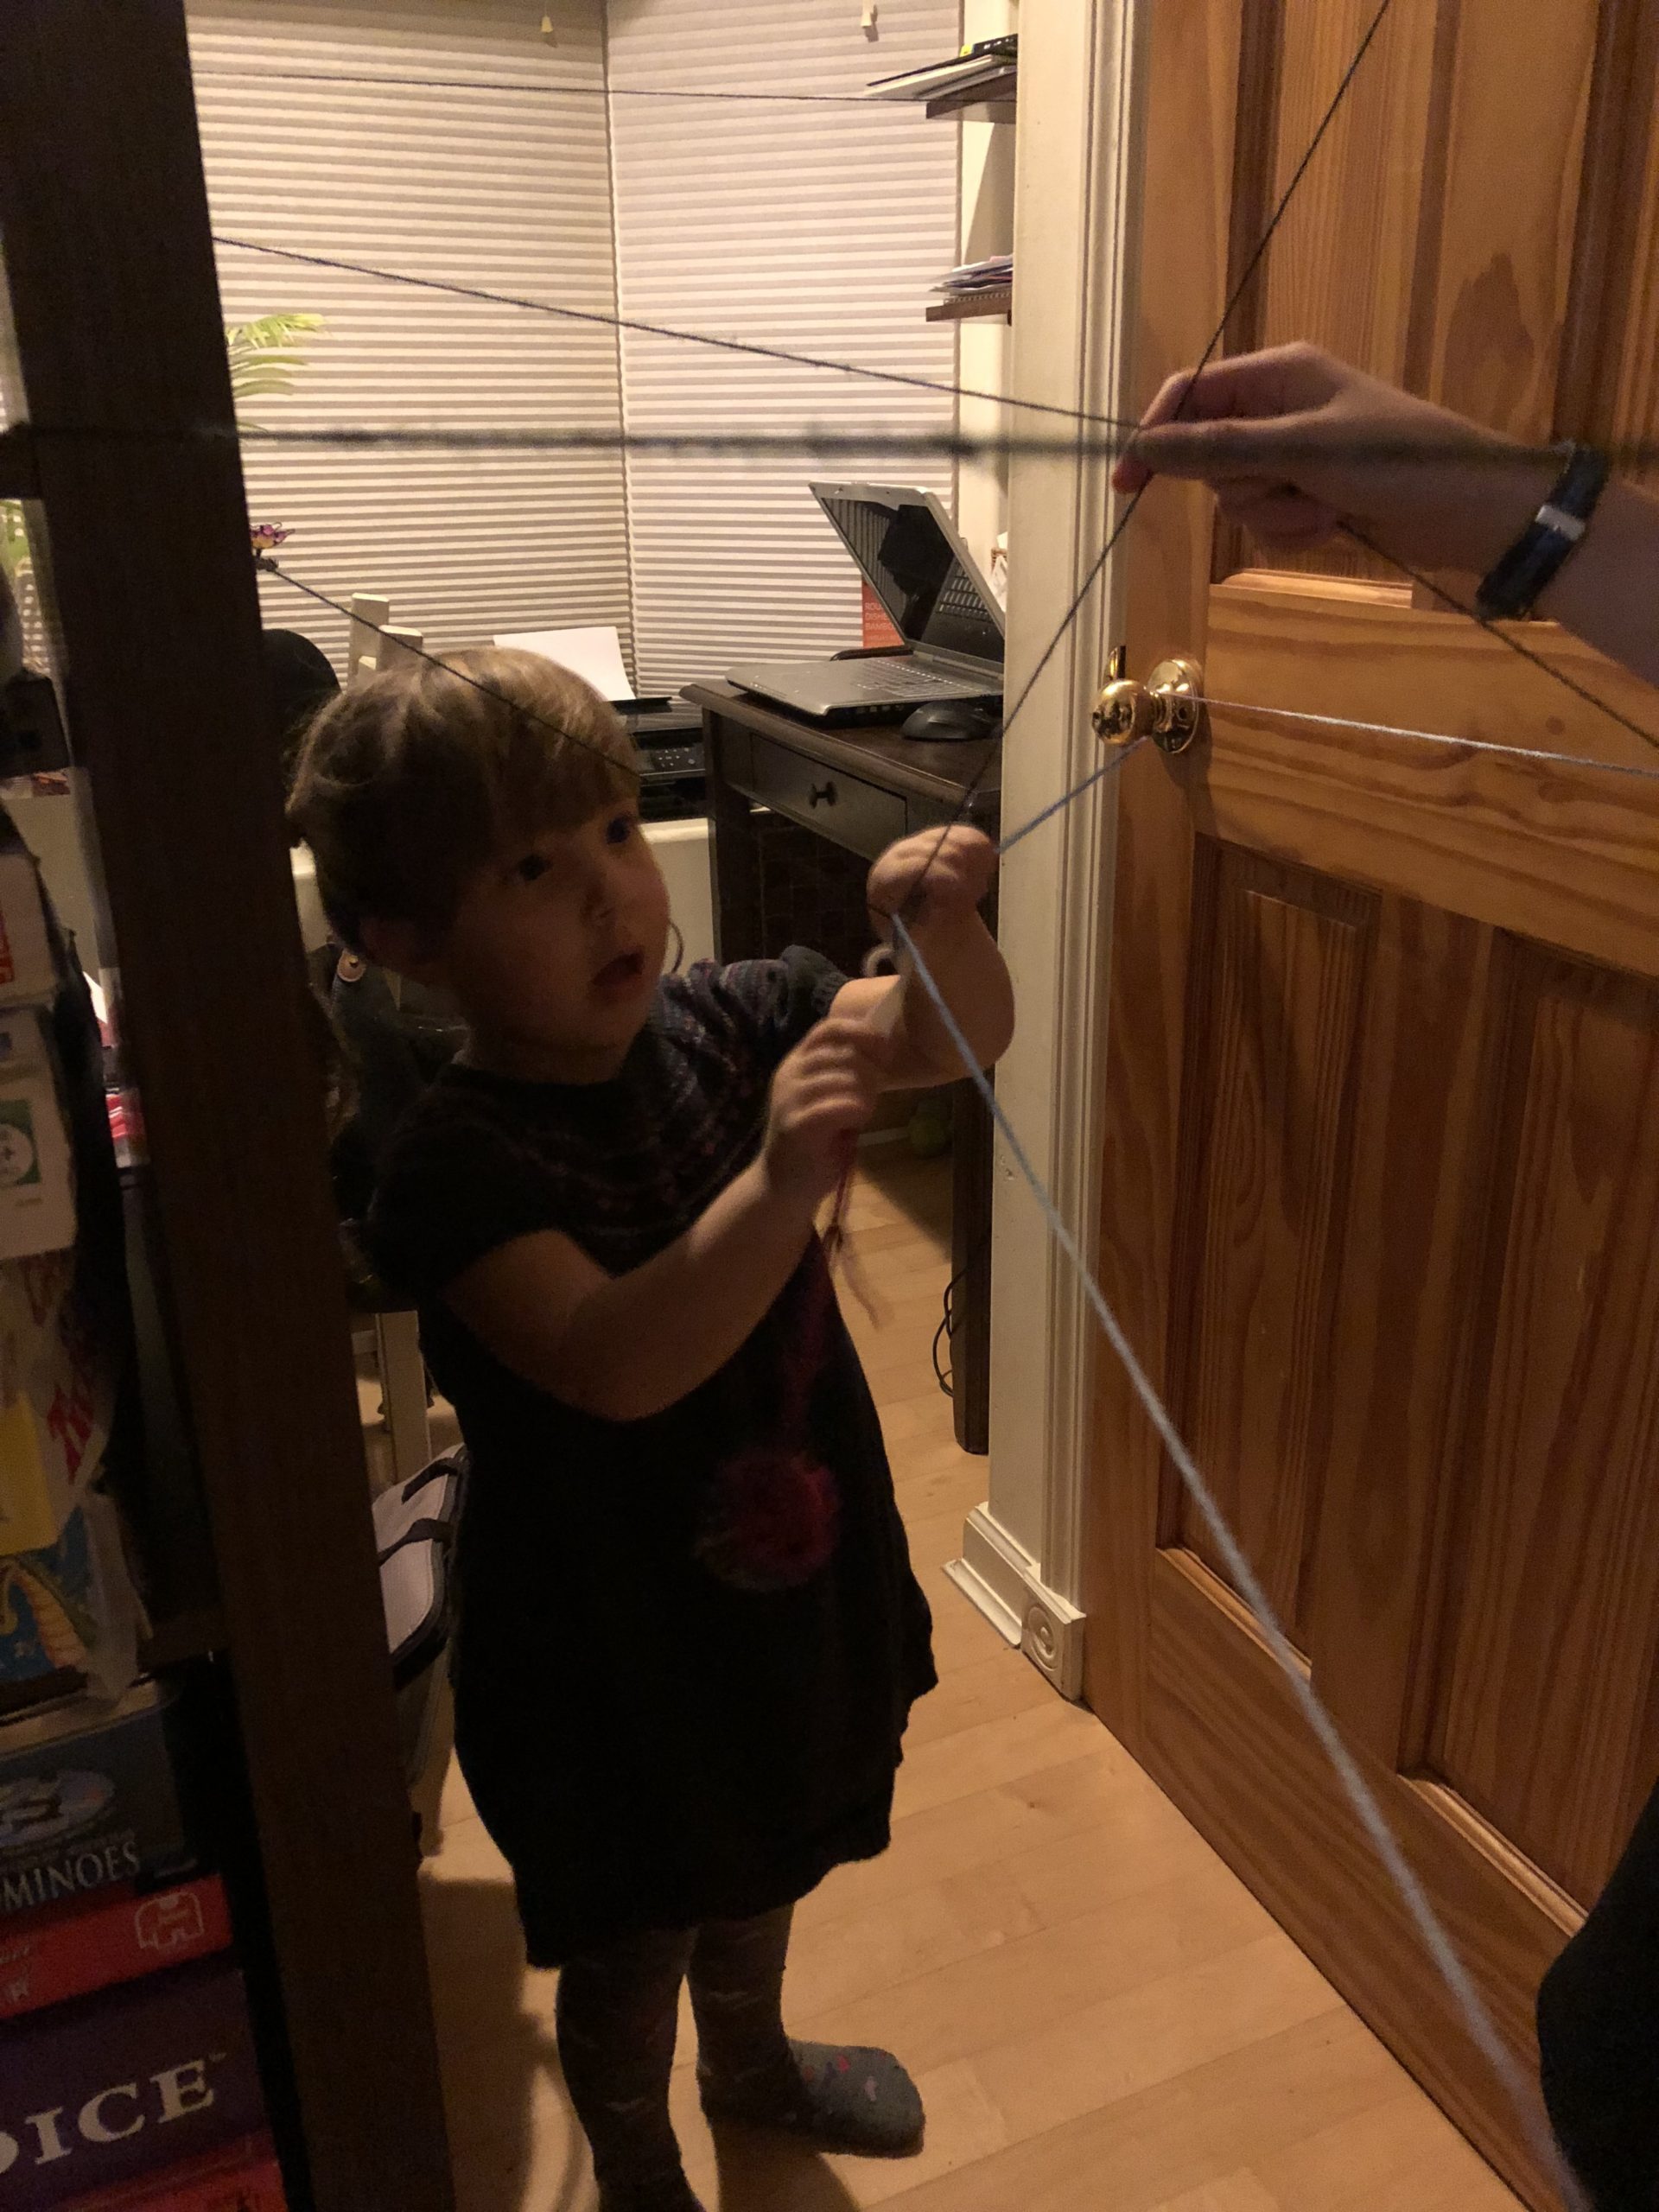
How it works:
After reading the letter, the kids follow the yarn (hold on to the yarn) till the end, where they’ll find the presents.
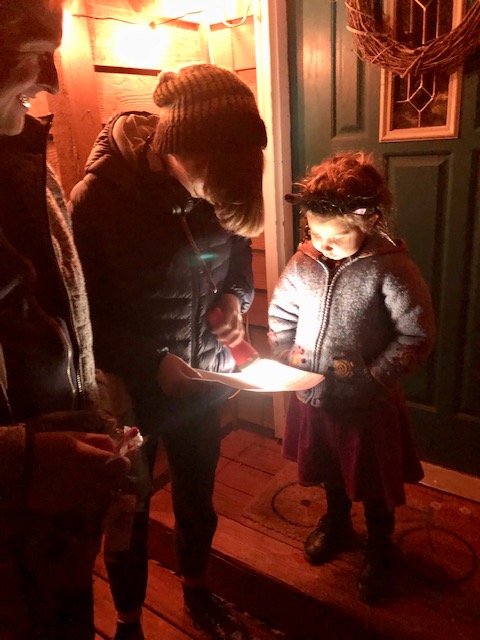
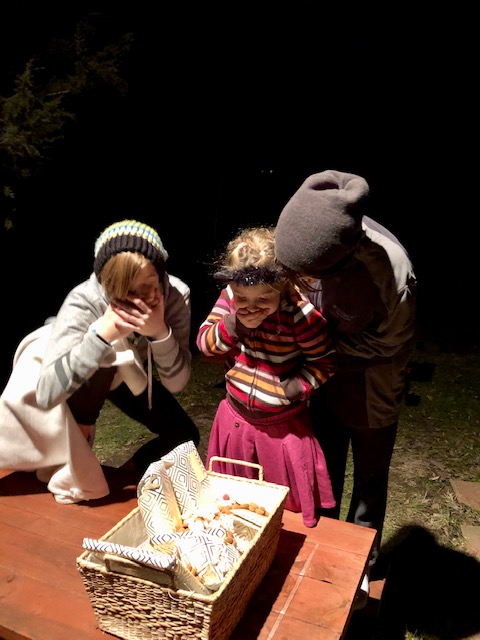
3. The Lights in the Dark
Age:
This treasure hunt is a fun one, but it can be a little scary for younger kids, because all the lights need to be turned off in the house. You decide if your child can handle it. I remember K had a hard time when he was about 2 or 3 years old. For J it was no problem and I think M is a tough one too.
Update: We did it with M last year. We added a few tea lights throughout the house, so M was more comfortable. Also, we let her use a flash light.
You might know the glow in the dark bracelet sticks. These, we are going to use for this treasure hunt.
Preparations:
Wrap the presents and put them in a basket or bag.
You’ll need glow in the dark bracelets, pieces of paper, pen, tape.
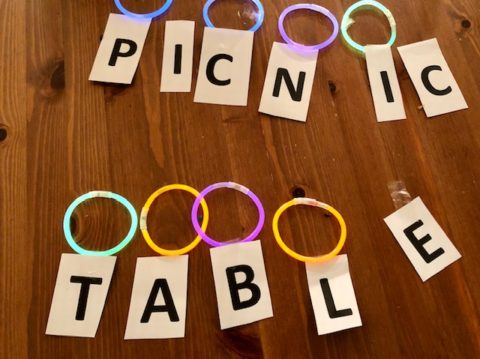
Find a spot where you want to hide the bag or basket with the presents. For example “mama’s bed”, “picnic table”or “bath tub”. Write each letter of the hiding place on a small piece of paper. To make it easier for younger kids, you can write a number (the position) of the letter in a corner on the paper with the letter. Is this the 3rd letter or the 1st?
Tape each paper on a glow in the dark bracelet. Let the kids know in the explanatory letter, how many letters they suppose to find. But most of all, tell them that all the lights in the house will be turned off during the treasure hunt. The bracelets light up for at least 2 hours, so you’ll have some time to “break” all the bracelets before hiding them in the house. Make sure the kids won’t trip over toys or other things during this treasure hunt.
How it works:
After reading the explanatory letter, the kids will hunt for all the bracelets with the letters. Let them figure out what the word or short sentence says and where they can find the presents. ENJOY!
4. One Step Forward, Two Steps Back

Age:
age 7 and up
This treasure hunt needs a bit more preparation time.
Preparation:
I made a compass star, like the one shown above in the middle of our living room to show the kids where North, South, East and West is. You can draw a simple one or print one out online. Find a place where you’d like to hide the presents. Start at the beginning of the hunt and write on small pieces of paper a clue like:” Make 5 -heel-to-toe-steps to the North and 10 heel-to-toe-steps to the East”. Right there, they’ll find another clue. This will continue until they’ll find the bag with presents. Make the hunt as long as you want.
How it works:
After the kids read the explanatory letter, they’ll have to do exactly what the little clues tell them to do. K just couldn’t wait. He was so impatient. His steps were getting bigger and bigger. He didn’t look at the directions either (North, South, East or West). In the end, they found the treasure after all, phewwww!
5. The BIG Puzzle
Age:
4 and up
Preparations:
First, you’ll need to decide where you’d like to hide the bag or basket with presents. Secondly, you make a picture of that place. It can be the bookshelf or the shed. Then, you enlarge it, for example in a Word document, so the picture fits on one sheet of paper. Preferably in color. Then you cut the picture in a few pieces so it becomes a puzzle. The YOUNGER the kids are, the BIGGER the puzzle pieces must be. Hide the puzzle pieces in the house.
How it works:
After the kids read the explanatory letter, they have to find all the pieces and make the puzzle. Then they can find the presents!
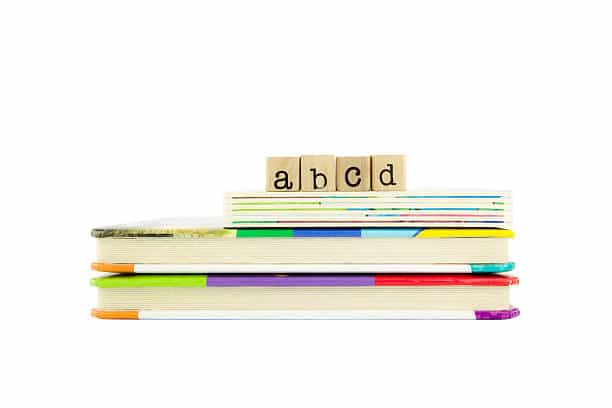
6. The Book Puzzle Hunt
Age:
M will be ready for this one and she is 6, almost 7. But help from older siblings is greatly appreciated.
Preparations:
Where is the basket or bag with presents going to be? Choose some books from your house. I got a book from M’s room, J’s library and K’s room. I also got a book from my reading nook and a book my husband wrote. You can choose more or less. Then figure out some places in the house where the books are going to be hidden, like the laundry room, coffee machine, fire place etc. Then make a Grid for the Words or draw your own. Use this one as an example.
Make the table columns as long as your word is. Use the first column for the words: Page, Line, Word and Letter. In my example you can see in the 2nd column that the kids need to find page 13, Line 11, the 3rd word and the 1st letter in that word. They will write the letter found on top (E) and so on until the word (and that’ll be the clue) is found. That will keep them busy for a while until the last clue will be where the bag or basket with goodies will be hidden. In the meantime my husband and I can enjoy our cup of tea…or wine!
7. Solve Puzzles and more Puzzles to find the Treasure
Age:
This all depends on how old the kids are. I choose some that will be more for appropriate for teenagers and some of them are more for an 8 year old. I’m lucky that my older kids let the younger one solve a good amount of puzzles.
Preparations:
I went online and found all kinds of puzzles. Here are some for you to modify them the way you want it.
A Logic Puzzle
This has always been one of my favorite puzzles. It can be very tricky sometimes, but if you click the link above, you’ll find a few easier ones. I always print an extra copy to do the puzzle myself and decide which letter I need for my word where the presents are hidden. I needed an “E”, so I decided to block out about 8 crosses and checkmarks. How many crosses are in here? Which letter is that in the alphabet? For example: of the 8 blocks, 5 of them are crosses. This means the 5th letter in the alphabet is an “E”.
Printable Puzzles
Crossword puzzle
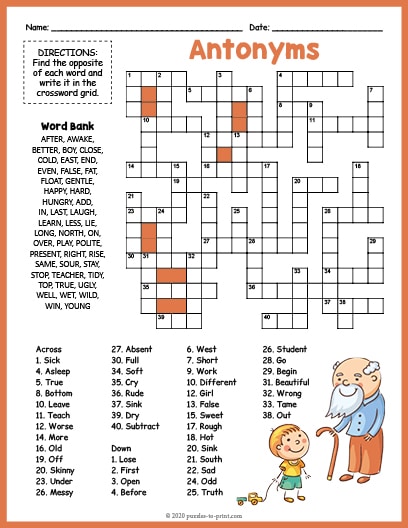
This is an Antonym puzzle. To make it more difficult I could take out the word bank, but I decided to write down, that after they finished the puzzle, they can open the envelope to see which letter belongs to the number.
Word Search
After they found all the words in the grid, the kids need to count. For example: I needed a B and that was the 30th unused letter (the letters not being used in a word).
Dot-to-Dot puzzle (pick something the kids cannot see what it is, something that has only dot and numbers, no lines or eyes)
There are a few on the web. This one turned out to be Penguins. I needed an “I” for my word, so I wrote on the puzzle: ” What is the 6th letter of this word?”
Maze
Here are some Holiday inspired mazes. I choose the present maze and tried it myself first. I wrote letters in the maze and asked the kids:” What is the 10th letter, you pass when you get through the maze?”
Party Games
Find also some party games with easy materials. Below you’ll find a list with ideas:
Cups and balloons
The idea with this game is to move the stack of plastic cups and make a stack at the end of the table. You can tape a line at the end of the table for example where the stack needs to be. The last cup has a piece of paper inside the cup with the letter they’ll need. Hands on their backs or only touching the balloon, NOT the cup. Each child gets their own balloon of course. With the balloon in their mouth, they need to hang the balloon in the cup and blow it up. When it feels that the balloon is big enough so the cup can be moved from the stack, the cup can be lifted to the end of the table, behind the taped line and let the air out when the cup is in the right position. The next child gets a turn! And so on! I had 9 cups, so every child had 3 cups to drag to and stack on the tape line. The last cup will have the letter taped or written on the bottom.
Popping Balloons without using hands and feet.
I used 10 balloons. In every balloon is a piece of paper, but only 1 has a letter on it. Without using their hands or feet, the kids can pop the balloons. Are they going to help each other?
Cups and elastic string game
This one is for teamwork. You need an elastic band, which can fit around a cup if it’s stretched out a little. Tie 3 strings (because of 3 children, if you have 2 kids, you need to make 4 strings, for each hand) evenly to the elastic band. Stack cups into a tower. The kids need to expand and let go of the elastic band by working together. The elastic band will fit around the top cup of the tower. That cup needs to be moved to make a stack (taped line). The last cup has a letter on the bottom. No hands on the cups allowed. If the cup falls, stack it on the tower and try again.
Find the button game
Use a bucket or bin. Fill the bucket with rice, or shaving cream or anything that would feel weird. Hide coins or buttons into the rice or shaving cream. One of the coins or button has a letter. Tape the bucket shut with plastic and make 2 holes in it.
Bobbing for “apples”
This one is a good one to set up in the bathroom. You need a shallow bucket or oven dish if kids are small. Put a towel underneath, so it doesn’t slide all over the place and towels for drying off. The kids won’t bob for apples, but for the letter that is wrapped up in plastic and tape, big enough so it won’t be a choking hazard. Only one taped up ball has a letter.
Do you have any fun indoor Treasure hunts to share?
I hope this will be so much fun for you and your children. I just love seeing them getting so excited and working together. It is a little different than just finding presents under a Christmas tree.
Do you have more ideas for Indoor Treasure Hunts? I would love to know them. Please contact me, so I can add them to these 7 with your permission of course.

Hello everyone,
Welcome to my Crafty Dutch Girl blog! Grab a cup of “koffie” and browse through fun blog posts about our Dutch family expat life in the USA, Dutch history, Dutch recipes, Dutch things to do in the USA and all kinds of crafts and activities. Don’t forget to connect with me for new ideas! “Groetjes en tot ziens”.
[…] 6th when we celebrate “Sinterklaas”, we (I mean “Sinterklaas”) sets up one of these Indoor Treasure Hunts. I’m not… Read more »
Thank you for the wonderful ideas.
We will try these from down here in Australia! 😉