
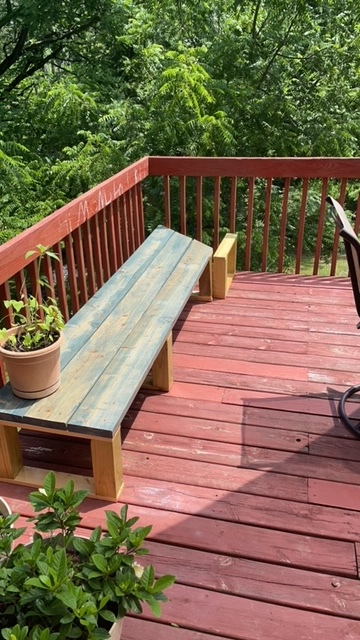
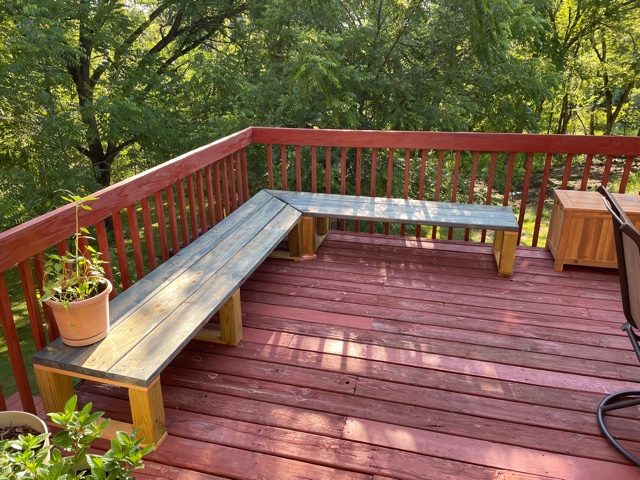
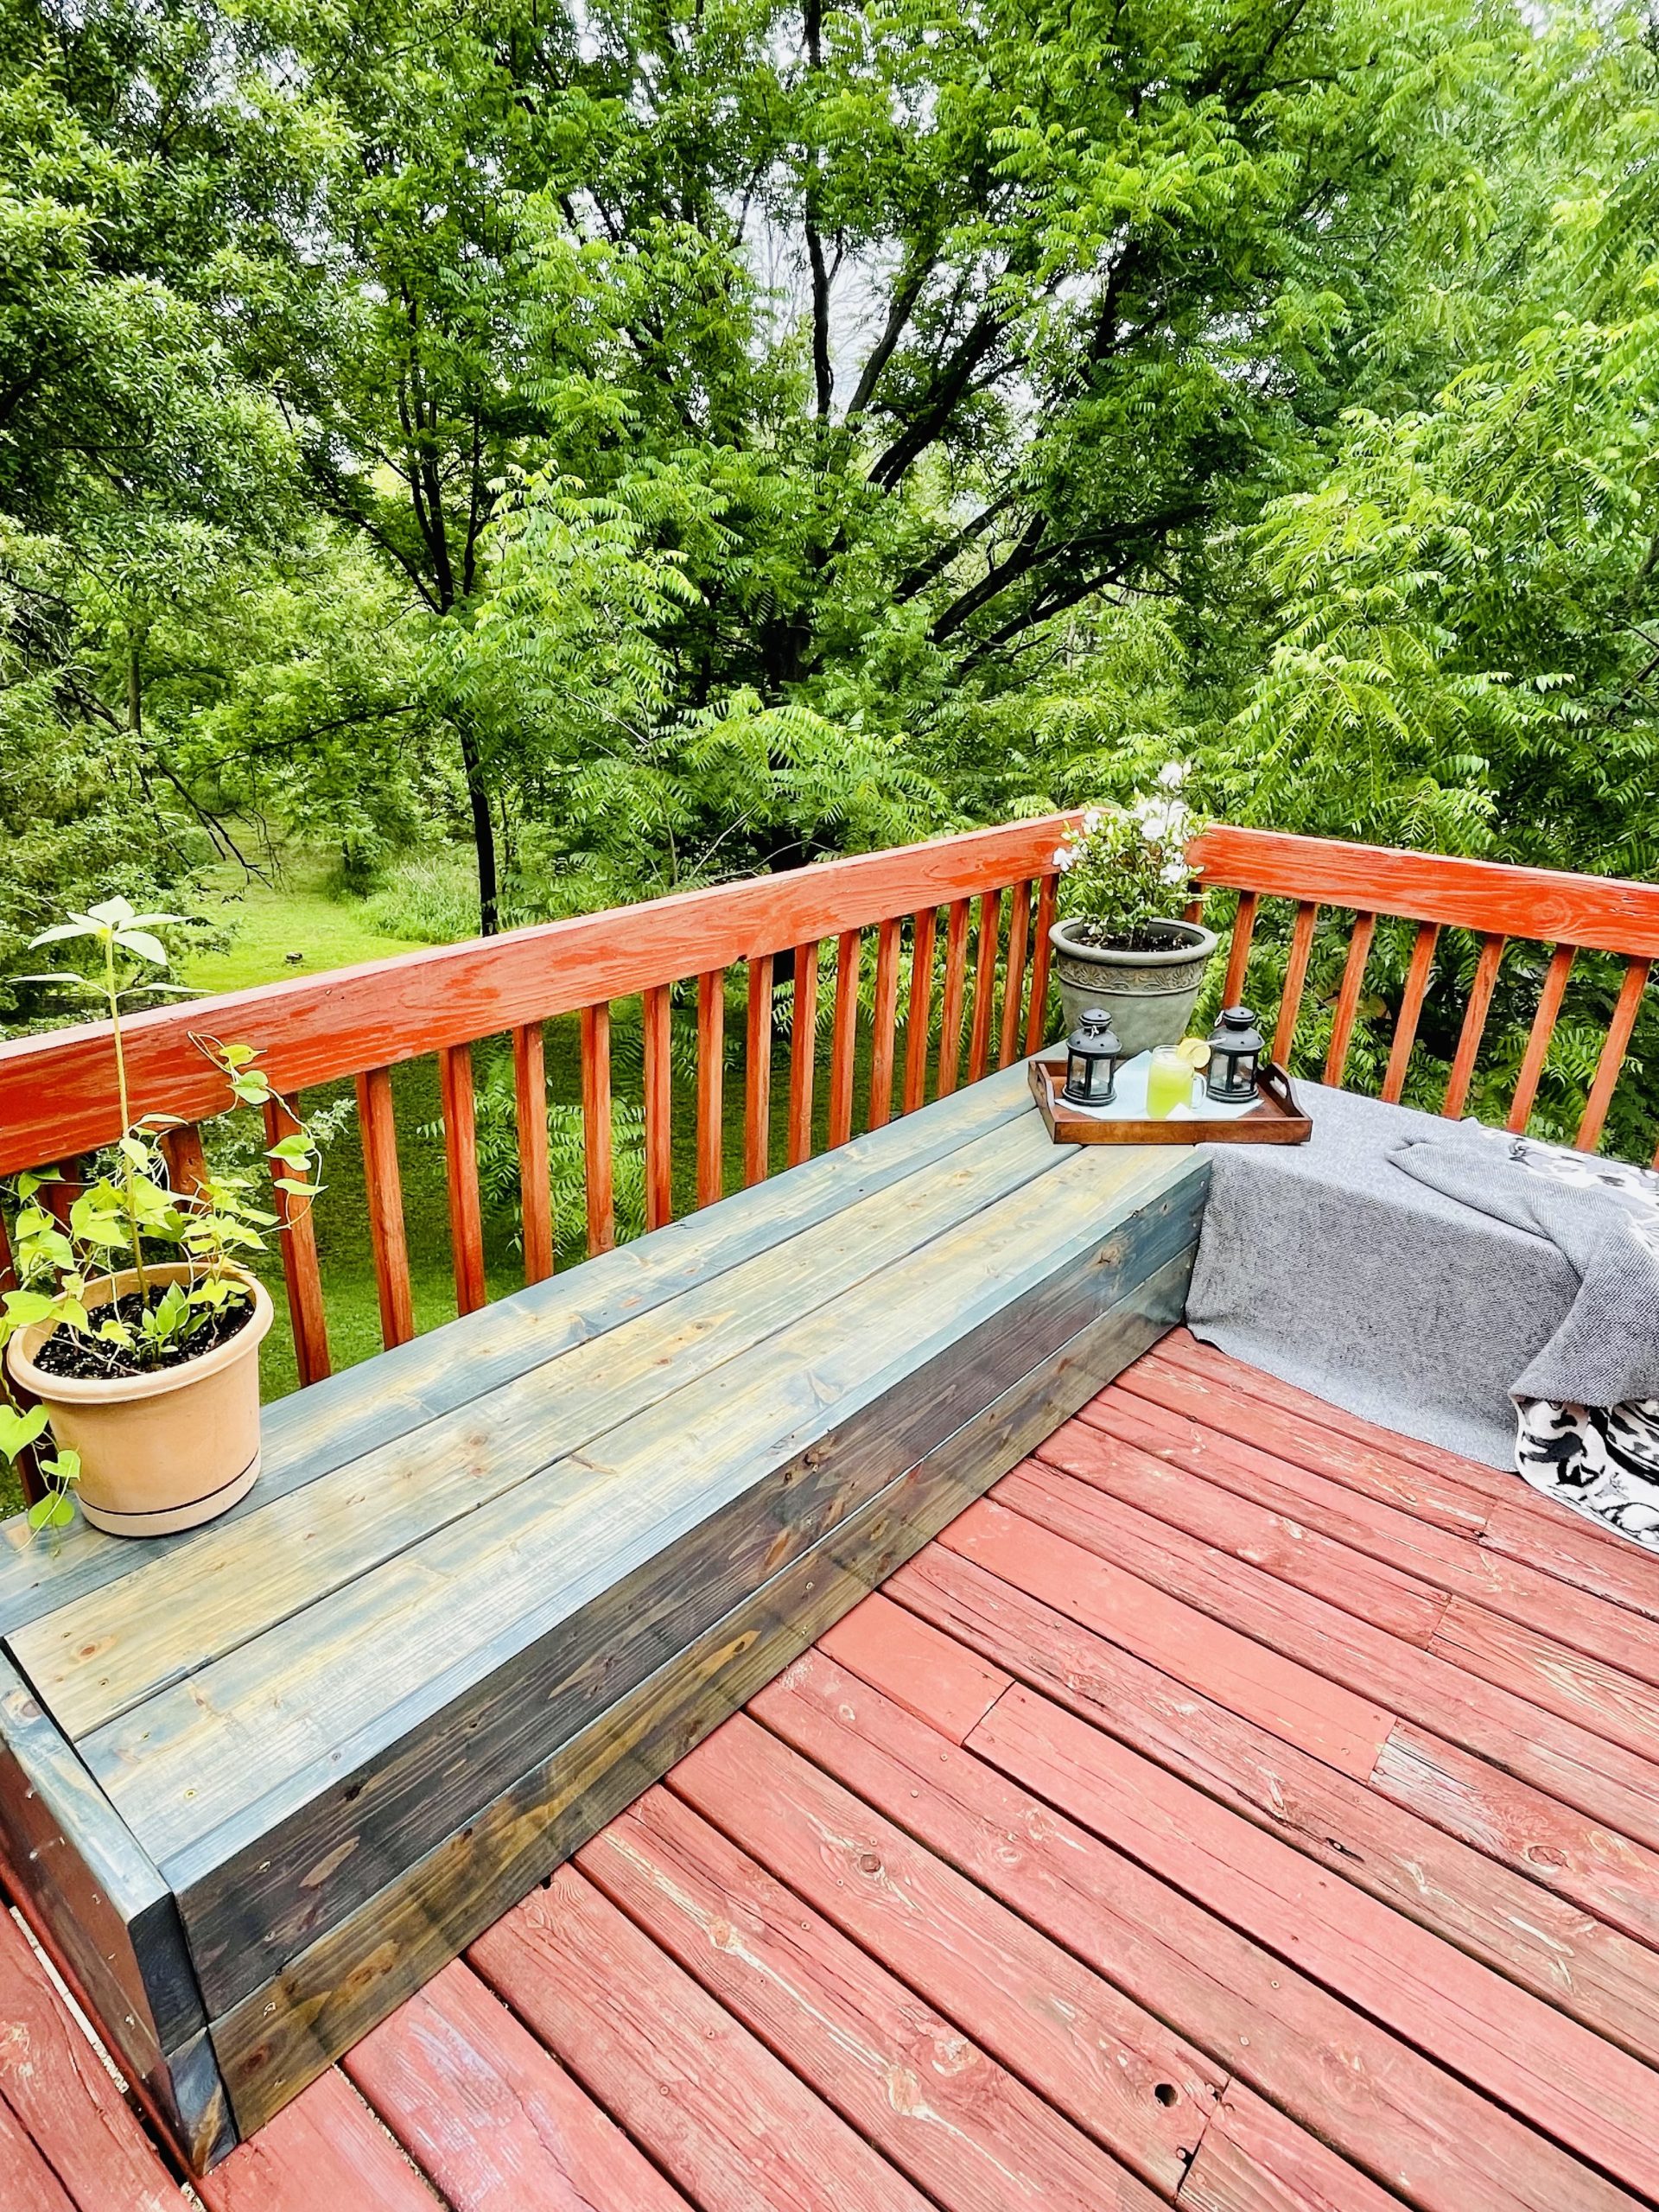
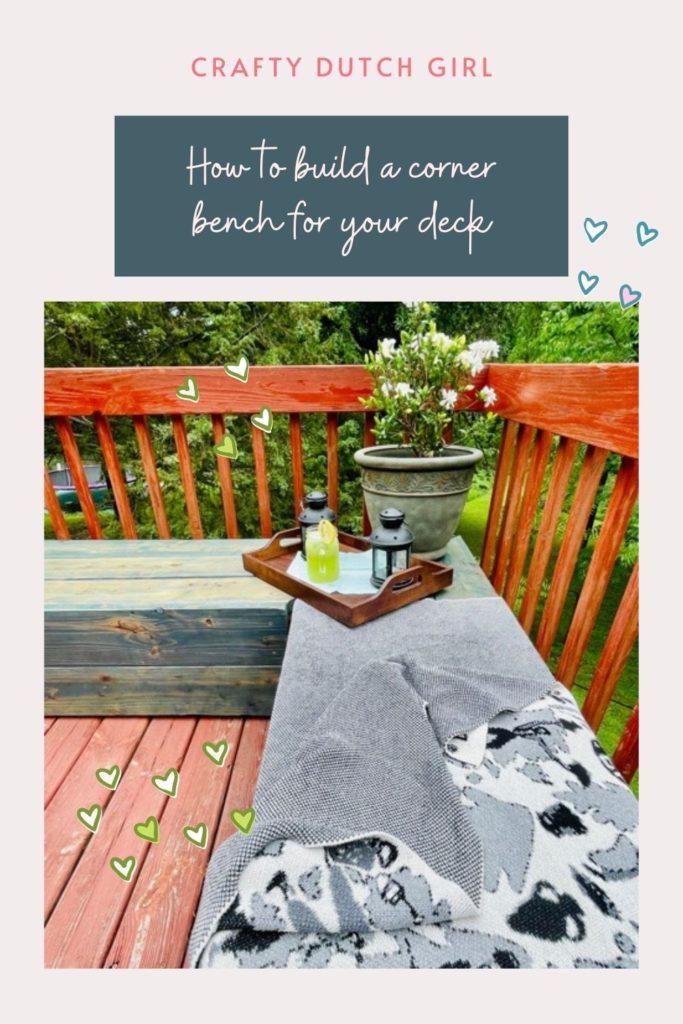
Thanks to my husband, we have a corner deck bench now! I am so excited and I can not wait to have friends and family over again to enjoy the evenings with a fire, cocktails, mocktails and games! My husband usually has the ideas and I am the one who is making the things. That’s not totally true. He helps a lot. He is a visual person, so I showed him some ideas on Pinterest. Finally we found one we liked, but it didn’t have building plans. So, I made my own plan on how to build this corner deck bench and it turned out amazing! We love it!!!
Crafty Dutch Girl is Reader-Supported. When you buy through links on our site, we may earn an affiliate commission. Learn more.
Materials for the deck bench
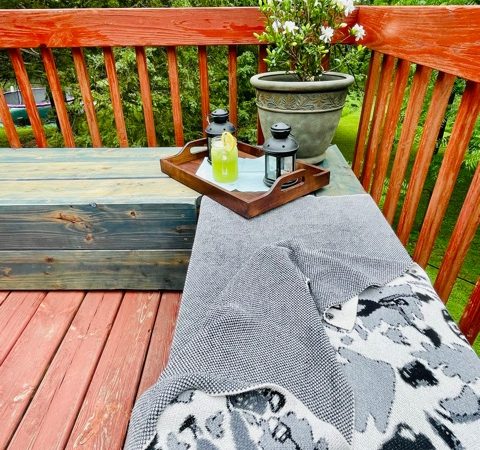
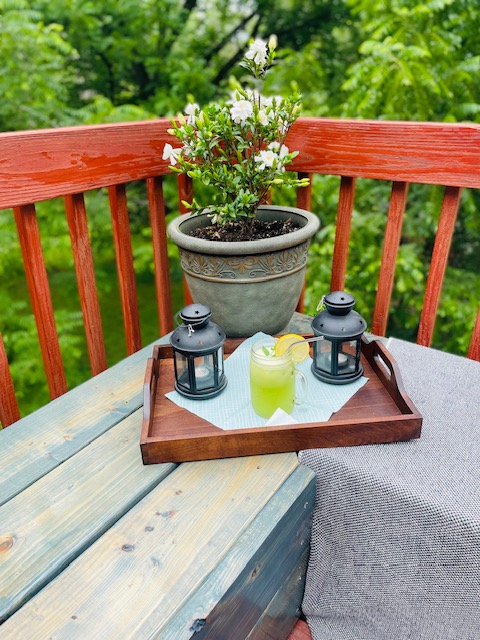
The bench we saw online was a lower lounge bench made for a patio. The sides didn’t have arm rests, but there is a space to put a flower pot or a tray for drinks. I thought that was a great idea! We decided not to make a back rest, but use pillows against the deck railing. This might change, we have to try that out if it works well! My husband just wants to lay down on the bench and watch the Iowa skies at night:)
Materials and tools I used:
- Miter saw
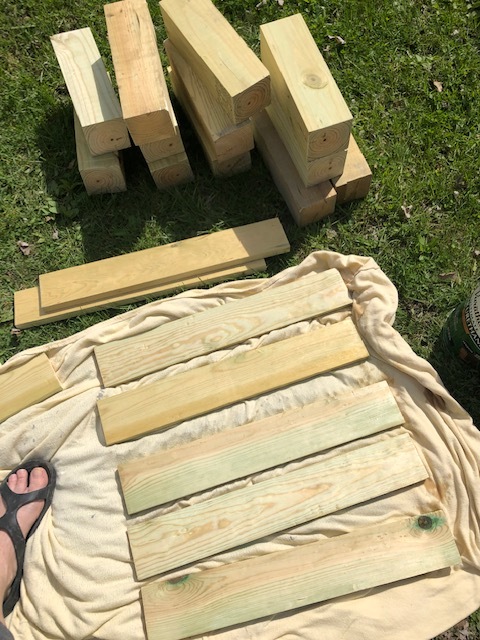
- 4″ x 4″ x 8′ (actual measurements: 3.5 inches x 3.5 inches x 8 feet) 2 pieces
- 1″ x 4″ x 8′ (actual measurements: 0.75 inches x 3.5 inches x 8 feet) 3 pieces
- 2″ x 8″ x 8′ (actual measurements: 1.5 inches x 7.25 inches x 8 feet) 8 pieces more or less, depends what size you want your bench.
- 2.75 deck screws
- screw driver
- sander
- brush
- wood stain (I used Worn Navy from Varathane)
- polyurethane
Legs and Sitting area
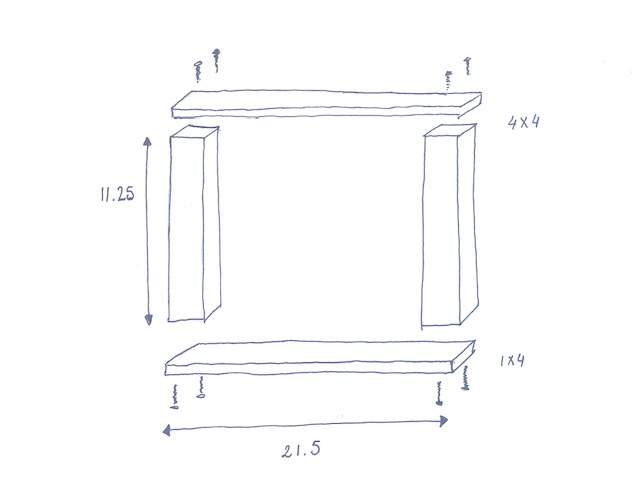
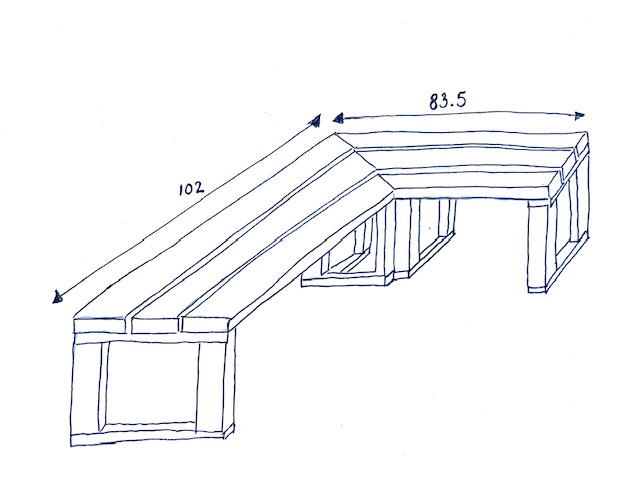
If you’re making the bench. You need to know how long you’re going to make it and if you’ll have enough support for the sitting part of the bench. I made 6 legs for our size.
I cut out 12 pieces from the 4×4 with 11.25 inch each. Then 12 pieces from the 1×4 with 21.5 inches in length each.
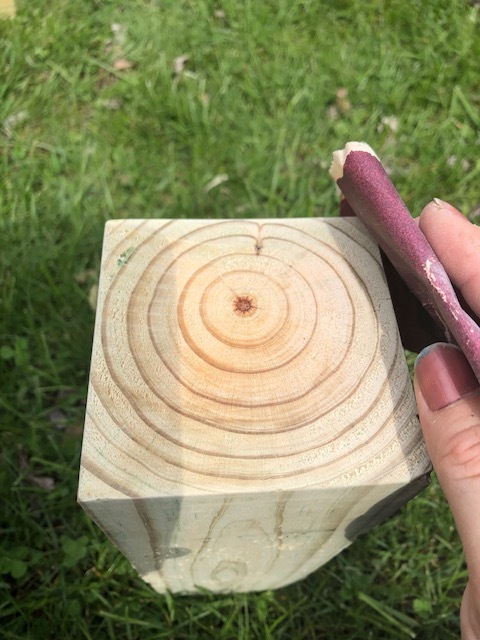
Then I sanded each piece and brushed 2 layers of polyurethane on them.
I measured the sitting area of the bench, so we could get 3 boards of the 2×8’s next to each other. The ends of the boards I cut in 45 degree angle with my miter saw. Sand, stain and polyurethane twice. Let dry long enough in between coats.
Then screw the boards on top of the legs. My boards were a little wonky from the humidity, but it worked!
It turned out that our deck was not straight, so I screwed the bench inside our house in 2 parts and assembled the 2 parts outside on the deck. I put some small wooden pieces under the legs to make it sturdy.
I measured the front sides of the bench legs and added 1.5 inch to it for the thickness of the board which will be added to the front of the bench. Cut 4 boards for the sides of the bench and 4 boards for the front of the bench. Sand, stain and polyurethane again. Screw in all the boards and your bench is done!
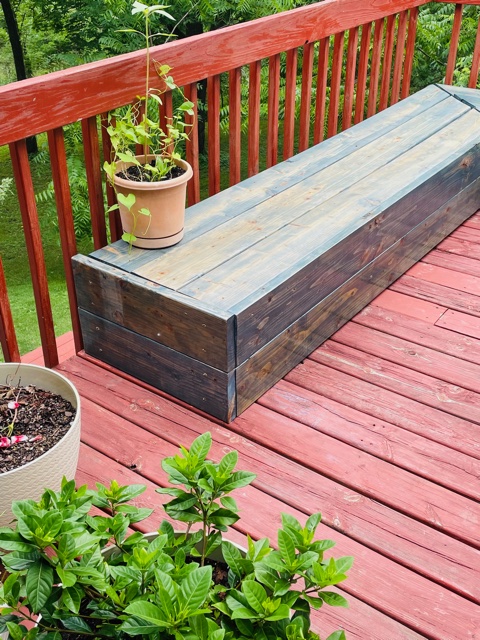
We also decided not to cover the back of the seating part of the bench. Maybe we decide to make it later. For now the open area in the back doesn’t disturb me now, so we’re leaving it open.
Cushions and Pillows
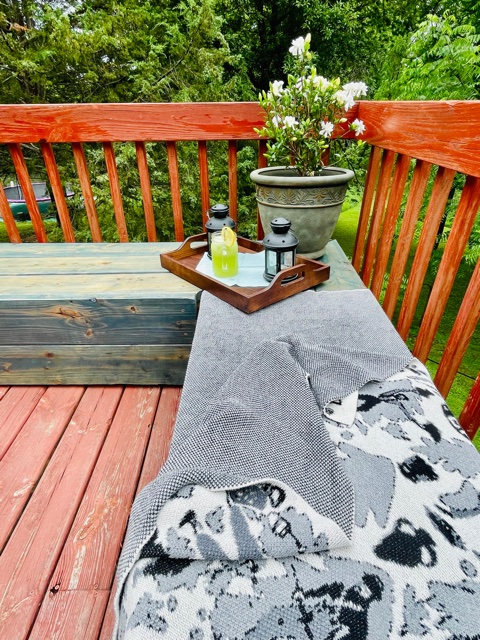
We are using the railing of the deck as our back support. We might change, if it isn’t working for us, but I think the bench is heavy enough to stay put and not move if someone leans back into the pillows.
We decided to make the cushions ourselves, because they can be very expensive! Luckily I got 1 foam cushion from a friend and based the measurements to another foam cushion for the other side of the bench. I got the 2nd foam cushion and weatherproof fabric on Amazon. Measure the foam and add 1 inch to each side of the foam cushion. One for the top, one for the bottom, 2 for the length and 2 for the width of one foam cushion.
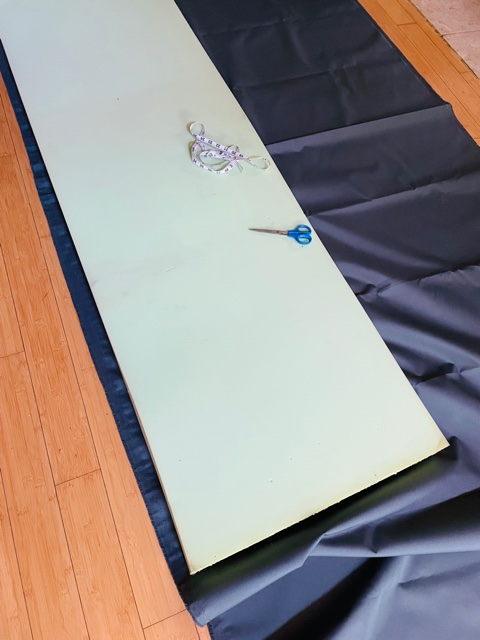
Do the same with the other foam cushion.
We decided to buy weather proof 20×20 covers and insert from Amazon. I could have made them as well, but I am so bad at adding zippers to my projects:)
Here it is!
Please show me your ideas, additions and other creations for your deck benches! I’d love to see them!!!

Hello everyone,
Welcome to my Crafty Dutch Girl blog! Grab a cup of “koffie” and browse through fun blog posts about our Dutch family expat life in the USA, Dutch history, Dutch recipes, Dutch things to do in the USA and all kinds of crafts and activities. Don’t forget to connect with me for new ideas! “Groetjes en tot ziens”.