
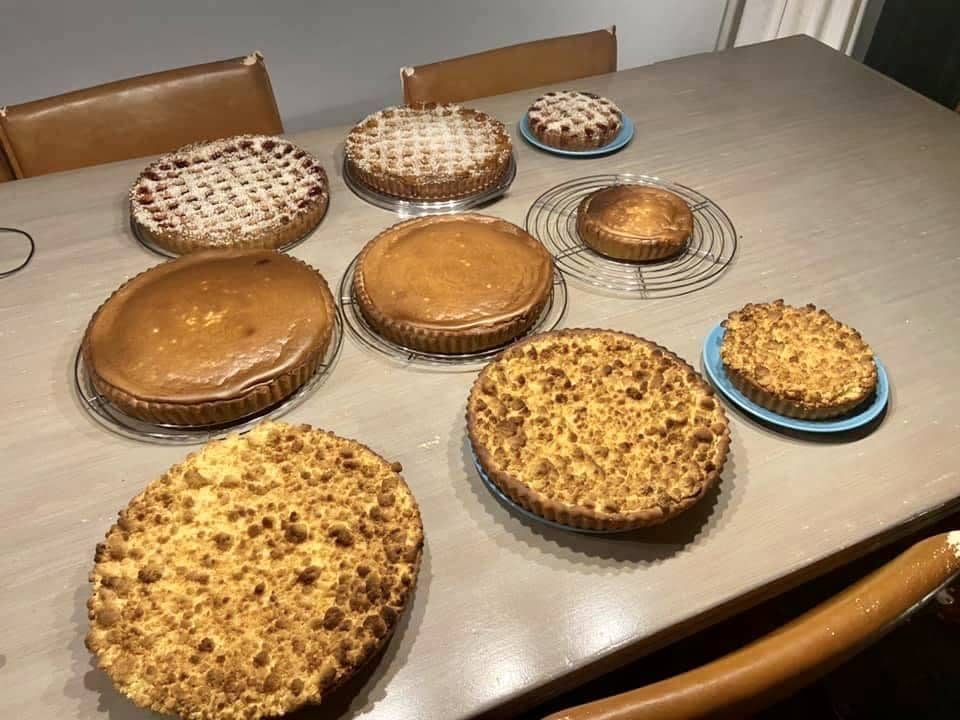
A few days ago I was scrolling through my Facebook news feed. A picture with at least 5 “Limburgse vlaaien”, caught my eye. These are (not always) fruit pies and I was instantly drooling! The person who posted this picture was an old high school friend, who went to College for Food, Agronomy and the environment and to the College in Wageningen for Catering and Bakery. Now he is working as a Process Technician at Dutch Bakery Group. Time for me to ask him some questions and get some Baking Tips from this Dutch Baker!
Interview with Emiel aan den Boom, a Dutch Baker
This is Emiel aan den Boom. As you can see he loves, besides baking, the trombone! And like many people from the South of the Netherlands he loves Carnaval as well.

I know Emiel from my last 2 years of high school. And as many people do these days, when they’re on Facebook or other Social Media, they’ll try to find old classmates and connect. It is always fun and interesting to see what people are up to these days? What profession did they choose, are they married, have kids, do they still live close to home?
So, Emiel finished high school in 1992, just like me, and he went to the “Vakschool Wageningen”, “HAS hogeschool” and HEAO to become a baker. He worked in several bakeries and even taught at the “Gilde opleidingen” in Roermond.
Something was missing…he didn’t want to become JUST a baker. He was not into following old recipes day in and day out in any of these bakeries. He became a test baker and a product developer at the “Dutch Bakery BV”, which is a wholesale bakery for several smaller grocery stores in the Netherlands.
Emiel has a wife and 2 children. They still live close to the high school we went to and close to his family.
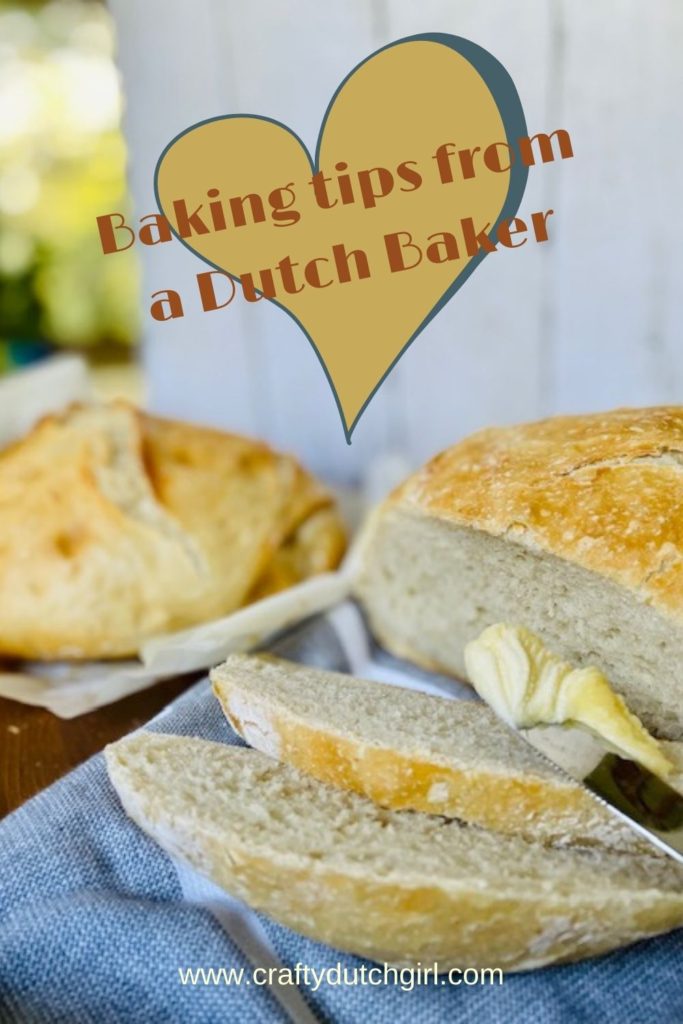
Home Baking Tips
Emiel will share a few recipes with us. Typical Dutch food you’d normally buy at a grocery store in the Netherlands. But there are people living abroad, like us, and don’t have the access to our favorite Dutch baked goods.
And on top of that…it is super fresh and you know exactly what ingredients you use. No preservatives or things which can harm your health. You can use additional ingredients to make your bread more “fancy”! And kneading bread might even relieve day to day stress. And I almost forgot about the smell!
So here are some tips for baking at home.
1. Check your environment for temperature.
I’ve never even realized this, but baking bread in general can be a sensitive project. It is true that several of my No-Knead breads came out totally different, from a nice height and beautiful crust, to a pale brown, doughy mess. I thought I always did the exact same thing. But baking mid-summer is totally different than on a cold winter day. The temperature and humidity makes a big difference in how your bread will come out. Even the temperature of your water or milk could be a huge difference for activating the yeast.
According to Emiel the dough should have a temperature of 26 C, which is 79F when it is ready to go into the oven. Read the recipe carefully, how long to knead and how long to let the dough rise.
2. Check the quality of your ingredients.
As I said before, one of the great things about baking at home, is your choice of ingredients. The best ingredients to use are organic and local ingredients, if possible. If you see the term : patent flour, it means it is high quality, commercial grade white flour. It’s the milled product of the innermost part of the endosperm of the wheat grain. The flour is low in ash and has a good white color.
Check if your yeast isn’t old (the date on the package). It doesn’t rise if it is old. I use packages of yeast, just because I’ve never seen fresh yeast around here. When I was younger, I remember going to our town bakery to buy fresh yeast in a cone shaped piece of paper. I never knew what it was back then!
3. Weigh all of your ingredients with a scale.
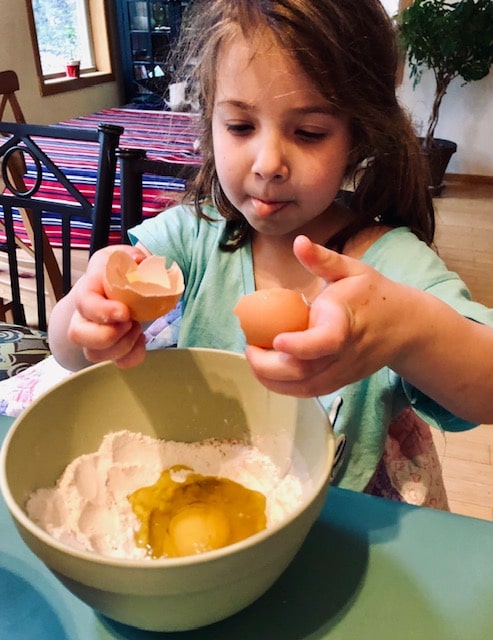
It seems like a no-brainer, but a difference in baking in Europe and baking in the US is the metric system. Using cups instead of grams. It is okay for making cookies or banana bread, but for baking bread, I’d like to use a kitchen scale with grams. I even measure the water (1 milliliter is 1 gram). Our youngest loves to measure and hit the right number on the kitchen scale.
4. Kneading by hand or machine.
I love to make my own bread, but being a mom, I don’t want to spend much time on it. When I do have time and especially when my kids are helping ( a little sensory integration by kneading the dough!) we roll up our sleeves and use our hands.
I read an article where someone made a comment about using a kitchen aid machine to knead the dough with a dough hook. I bet it was an older machine, because I don’t have a hook with sharp edges, but this lady said that the sharp edges on her dough hook cut the gluten, instead of softly mixing and kneading the dough. The dough turned out to be flat and chewy.
5. Knead your dough long enough.
It will tell you normally in recipes, how long you should knead the dough, but I got stuck with the No-Knead bread, which is easy for me. It takes longer to rise, but I don’t have to look at it for 1 1/2 days.
Emiel says, it is important to knead the dough long enough. You know when it is ready if it passes the “windowpane test”. This is when you know if the proteins turned into gluten. Pick a little bit of dough and stretch it out in between your fingers. The dough should not rip quickly, but stays intact and light shines through (like a windowpane).
6. Let the dough rise long enough.
Again with the No Knead bread it takes 1 1/2 days to rise on the kitchen counter. Read the instructions and see if the dough doubled in size. Pizza dough doesn’t need to rise twice, but bread dough usually does.
If you have other Baking Tips for me, please comment below!
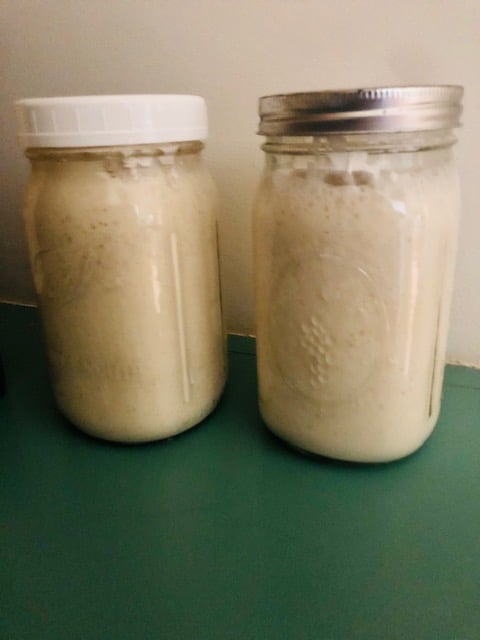
Mieke’s Sourdough Starter
I was so proud of myself when I received a sourdough starter from a friend at the beginning of the COVID pandemic and started to experiment with making bread. I bet a lot of people started to make bread at home, just because it is a crisis thing to do, like hoarding toilet paper!
Pins on Pinterest about making bread and sourdough starters were big hits. I made the No Knead bread for several years, but this was something new, this was something cool! And again, baking bread is a sensitive thing and I have to admit after I read some articles about maintaining sourdough was a bit overwhelming to me.
Mieke just told me, she makes bread with sourdough starter for 7 years now. She bakes about 10 breads at a time and freezes them in. Here is how you can start a rye flour starter and the benefits of this kind particularly.
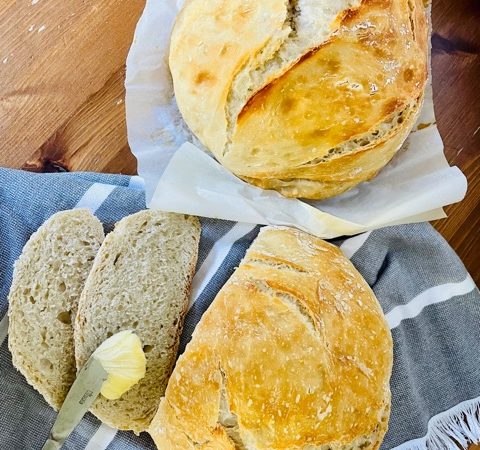
No-Knead Dutch Oven Bread
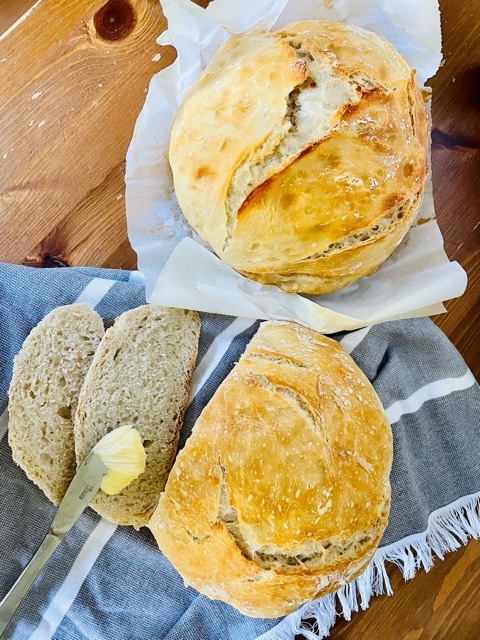
This is my to-go to bread for our soup evenings. I only have to think about putting the ingredients in a bowl the day before. I sometimes have to tell my husband when he asks for the bread to have it with our meal that evening, that I cannot do it…it won’t be ready in time! He has to tell me ahead of time. This bread takes a little bit of patience, but the prep work is super easy.
For example: I want bread for dinner on a Tuesday evening. I’ll mix the ingredients together in the morning on Monday.
Ingredients:
- 3 1/3 cup (480 gram) all-purpose flour
- 1/4 tsp (1 gram) yeast (not a whole package)
- 2 tsp salt (Kosher) and other dried herbs (optional) like basil, oregano, garlic powder, onion powder, rosemary
- 1 1/2 cups (345 grams) water, room temperature
– Mix all the ingredients, except for the water, in a glass bowl. Add the water and mix well. The dough should be lumpy and sticky.
– Cover the bowl with plastic and leave on the counter for about 18 hrs.
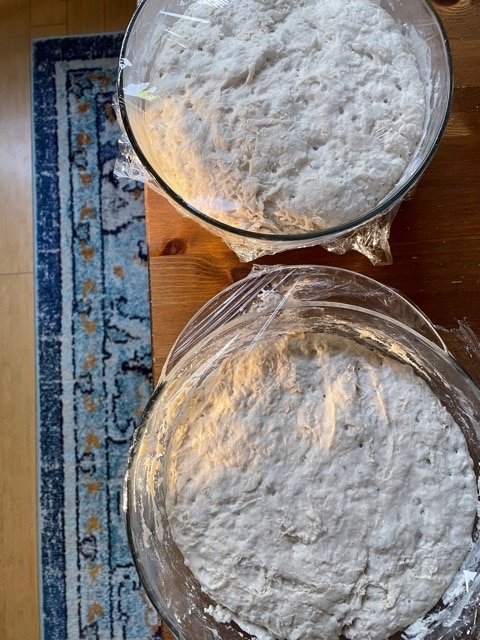
– Use a good amount of flour to dust the surface and to get the dough out of the bowl. You will see a good amount of bubbles in the dough. Fold the dough over once or twice and cover it loosely with the plastic wrap for about 15 minutes.
– Shape the dough into a ball, again using a good amount of flour. Put a piece of parchment paper into the bowl and carefully lift the dough ball into the bowl onto the parchment paper. Cover with a clean kitchen towel. Let rise for 2 hrs.
– 1/2 hour before baking, turn on the oven to 450F. Let a Dutch oven (stainless steel pot) warm up in the oven for 30 minutes.
– Carefully slide the dough with parchment paper into the pot and bake for 30 minutes with the lid on the pot.
– After 30 minutes, take the lid of and let it bake for another 10 minutes.

– I know it is tempting to cut right into it, but the slices will be so much nicer and the bread will be so much easier to cut, when you let it cool for a few minutes.
ENJOY!!
Recipes from a Dutch Baker
“Worstebroodjes”
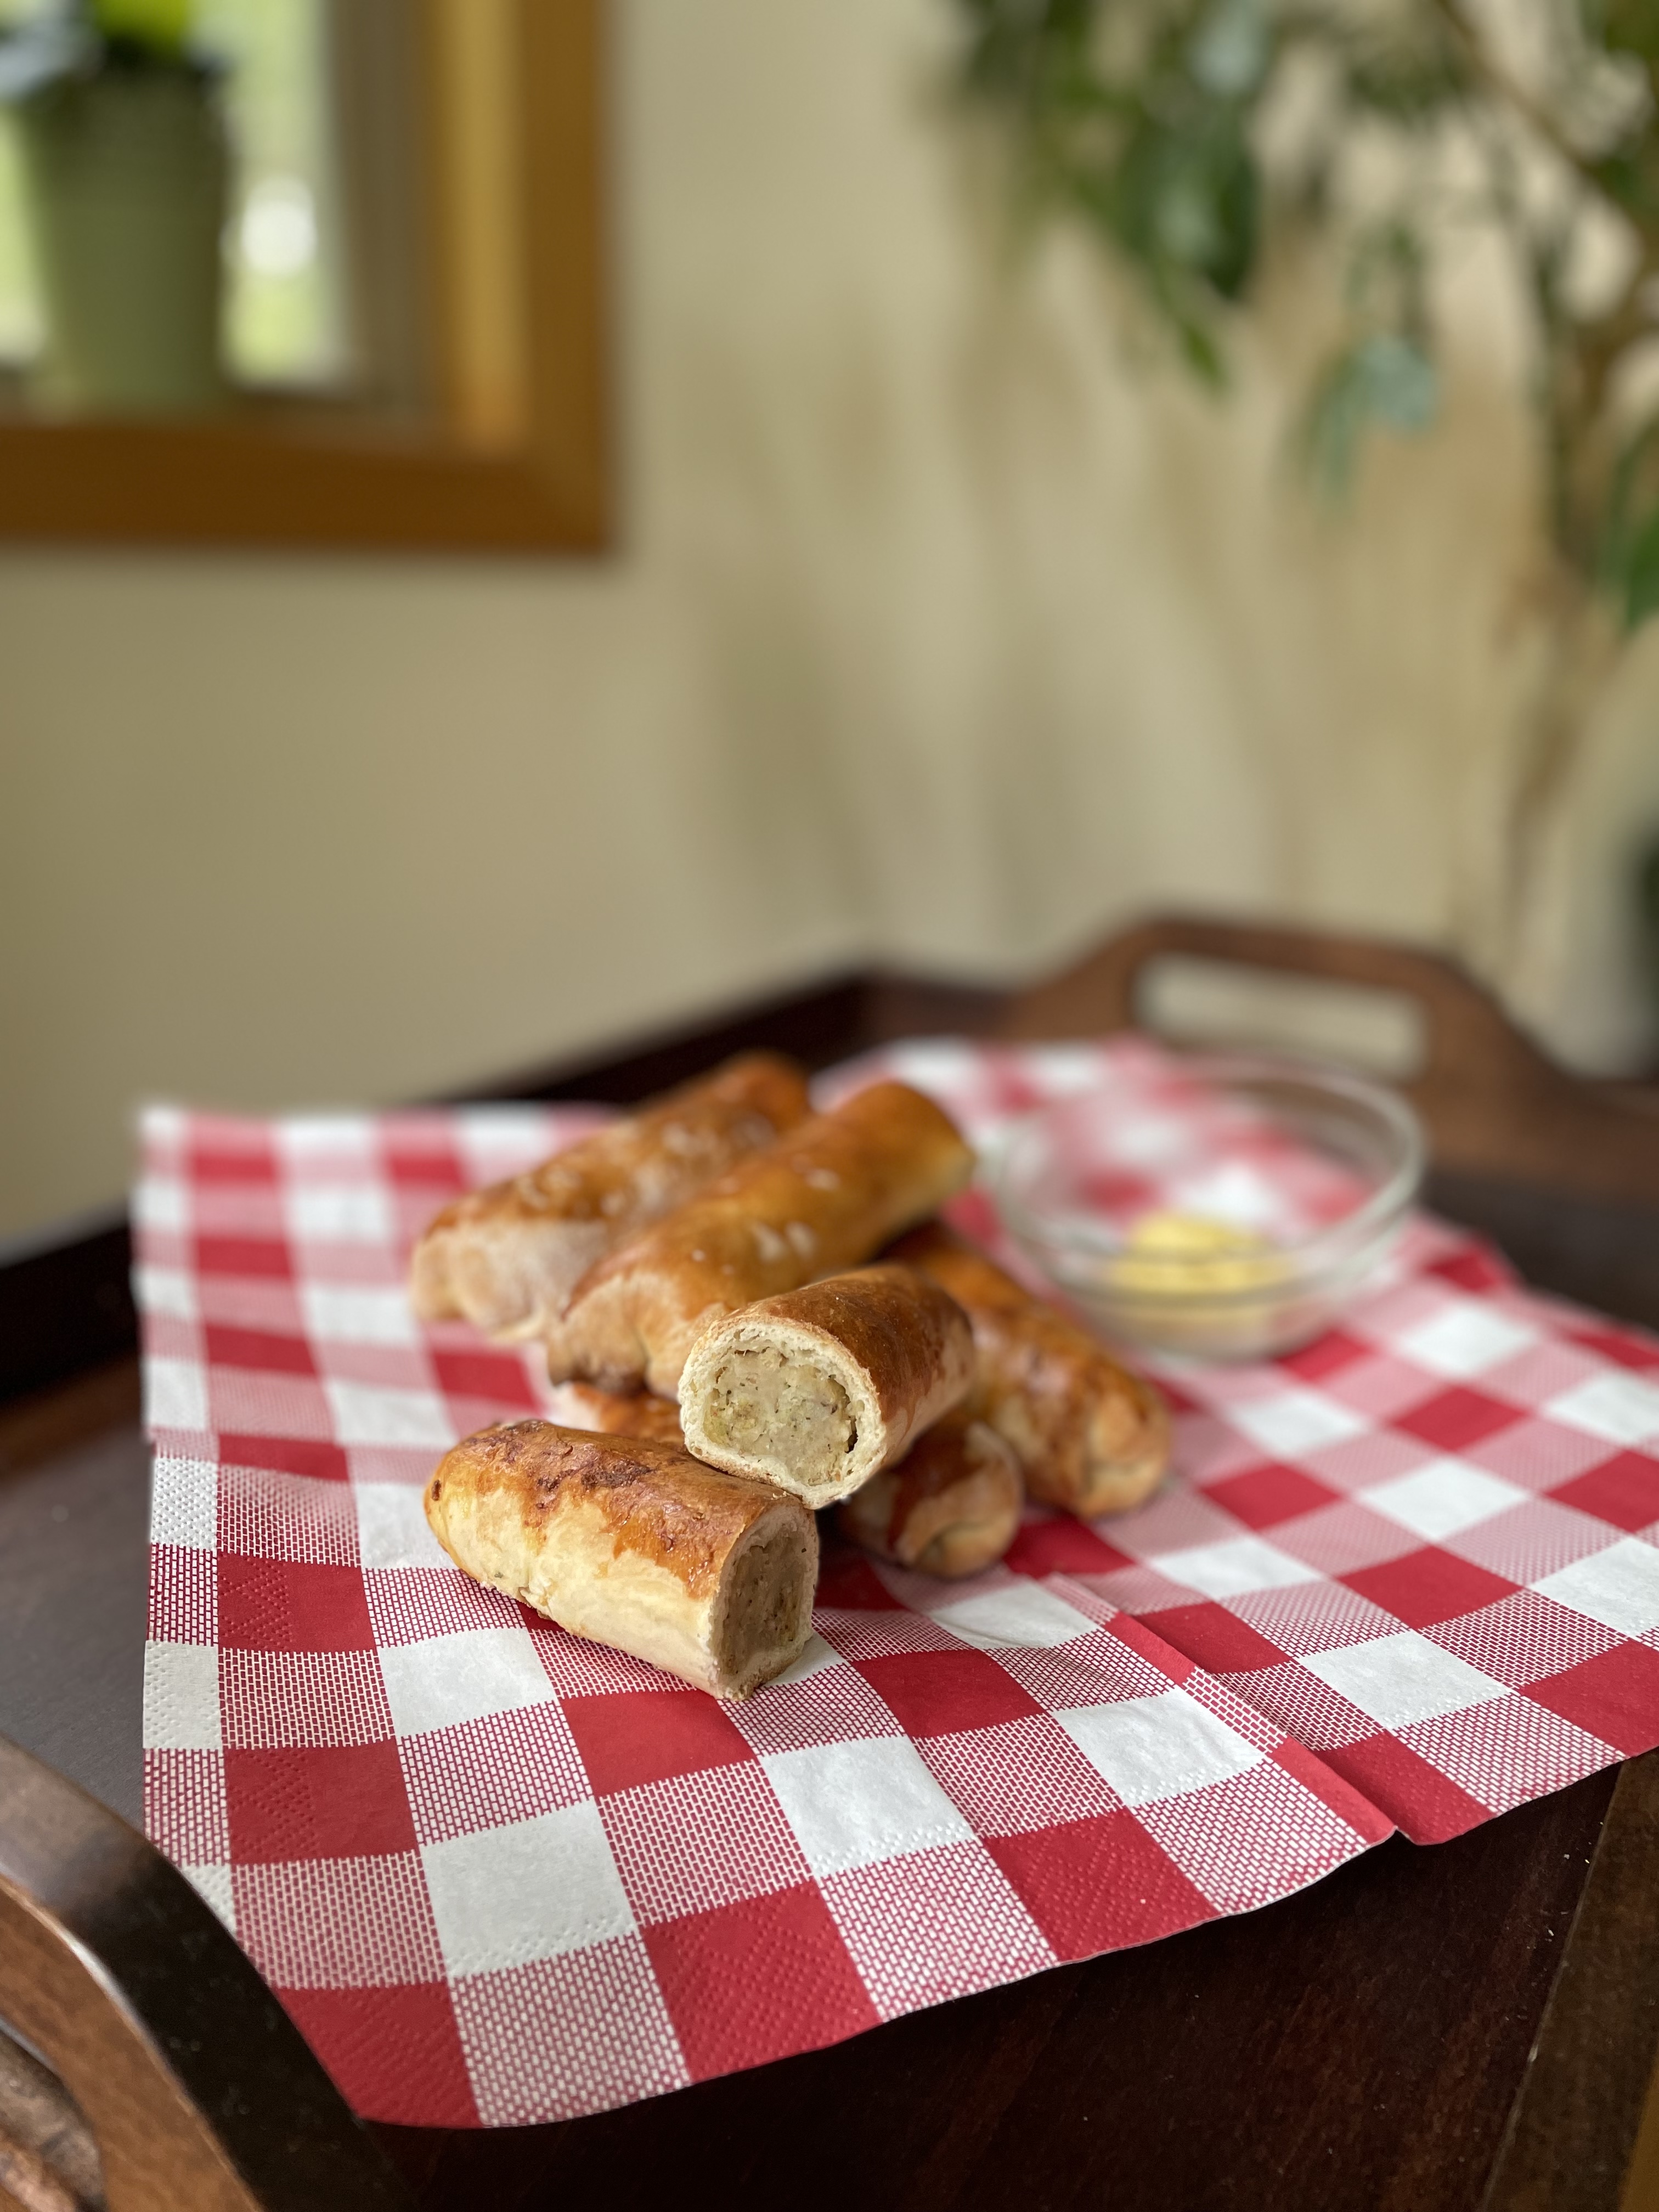
These “Worstebroodjes” (Sausage breads or rolls or “Piggy in a Blanket”) together with the “Saucijzenbroodjes”, were my favorite warm weekend snacks. The “Worstebroodjes” are made with a bread dough and the “Saucijzenbroodjes” are flakey and made with puff pastry.
“Rijstevlaai”
Usually a lot of typical fruit pies from the South of the Netherlands or in this case rice pie, are made with bread dough. Maybe because the gelatin or cooked rice pudding will not easily seep through the pie bottom.
Do you have any tips for your home baking goodies? Please let us know, so we can learn and share with our readers!

Hello everyone,
Welcome to my Crafty Dutch Girl blog! Grab a cup of “koffie” and browse through fun blog posts about our Dutch family expat life in the USA, Dutch history, Dutch recipes, Dutch things to do in the USA and all kinds of crafts and activities. Don’t forget to connect with me for new ideas! “Groetjes en tot ziens”.